Arduino Uno: A Complete Guide for Beginners and IoT Enthusiasts (2025 Edition)
Overview
What is Arduino Uno?
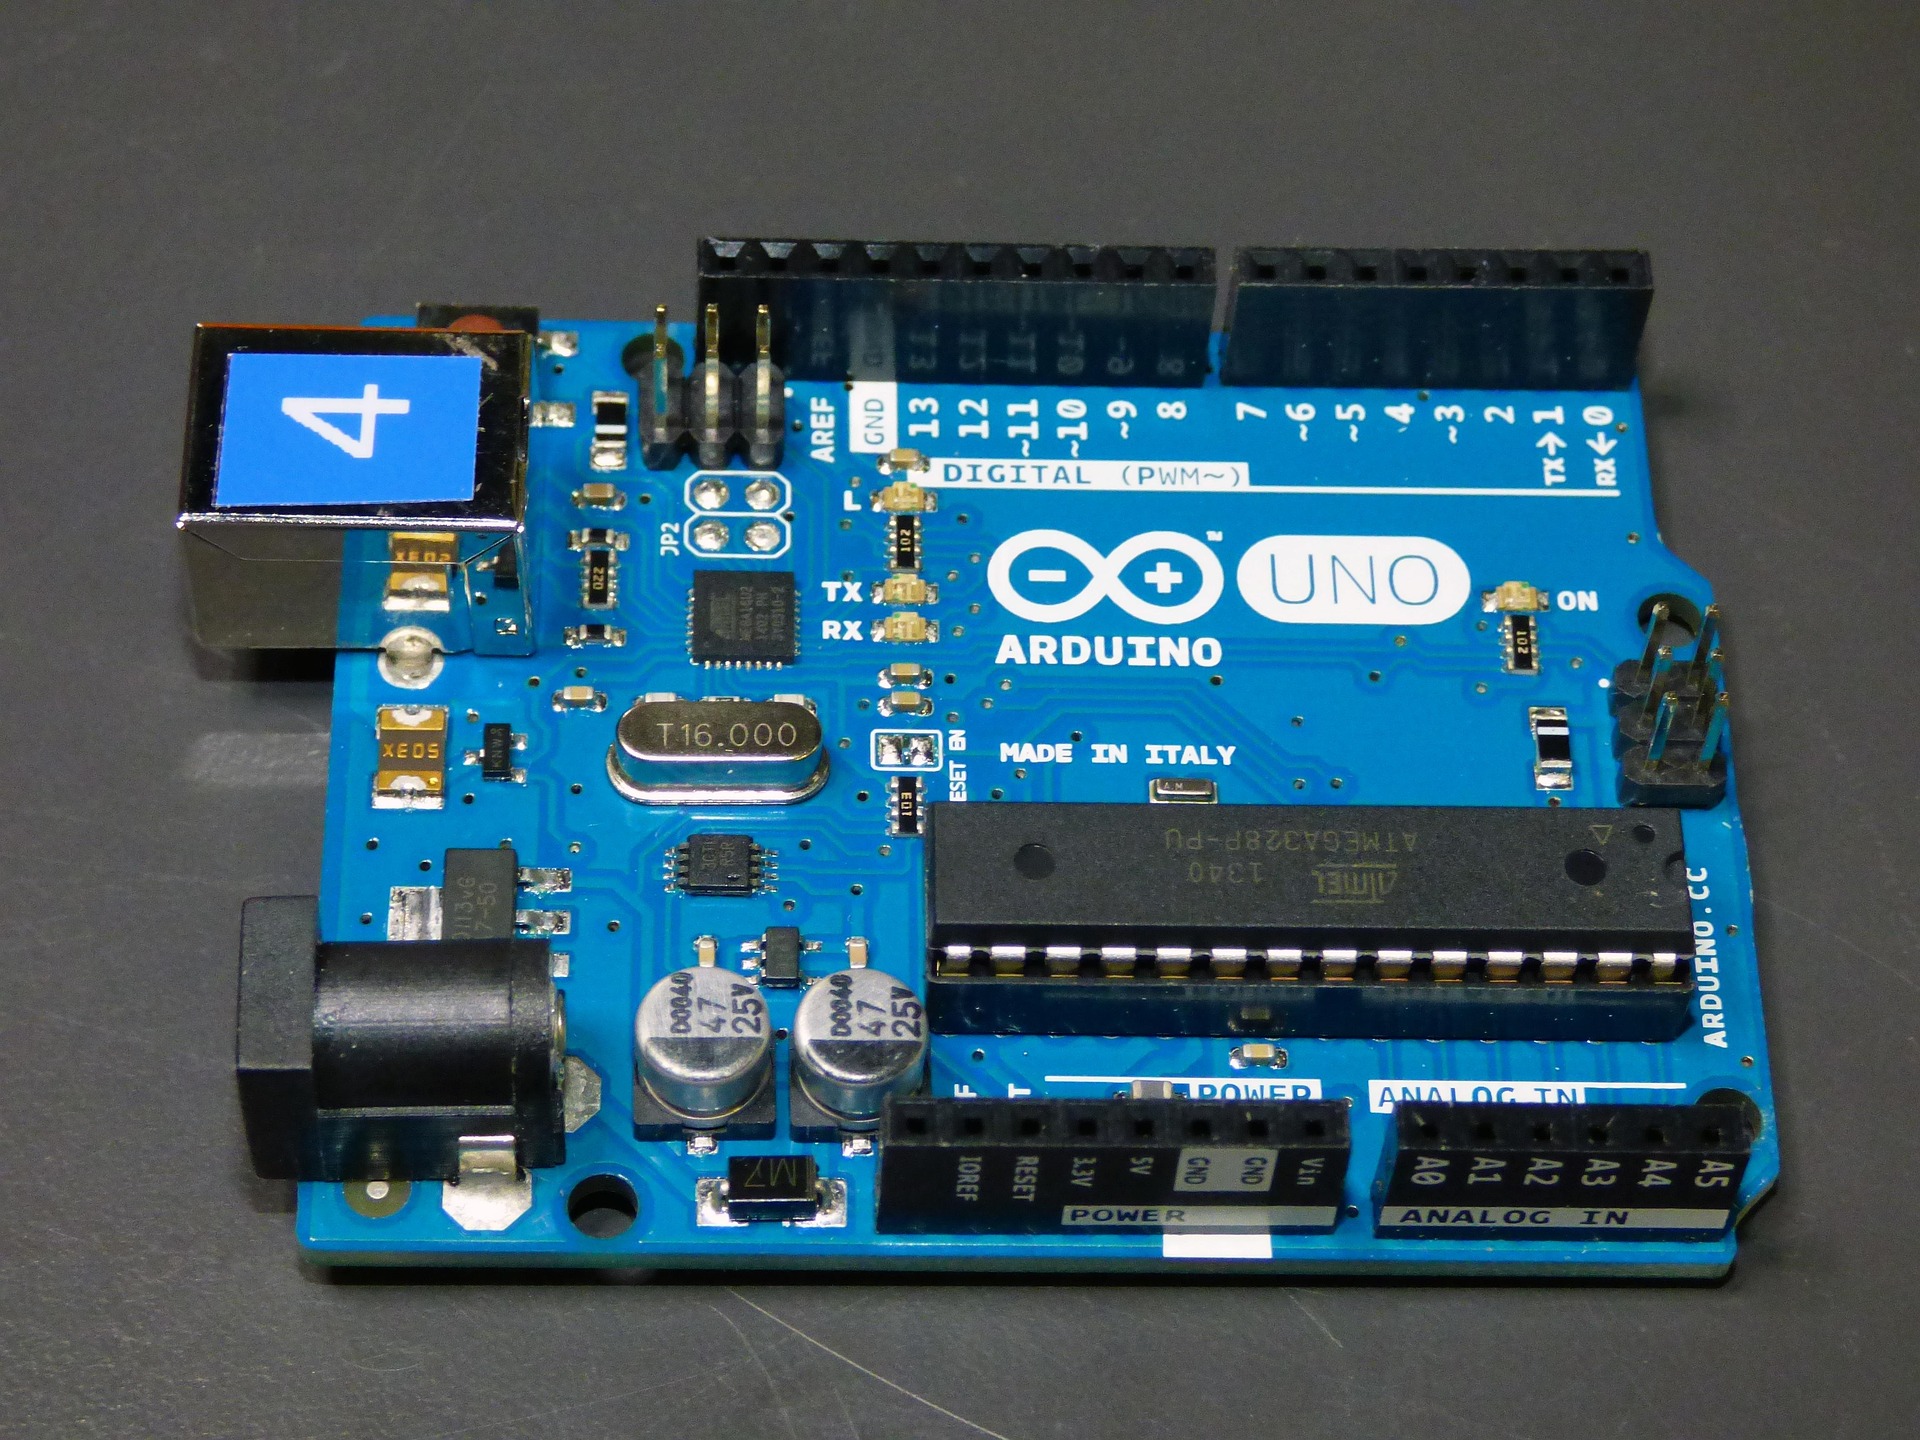
Arduino Uno is an open-source microcontroller board based on the ATmega328P microcontroller. It is one of the most widely used development boards in the world of electronics, robotics, and IoT. Designed to simplify electronics prototyping, the Arduino Uno provides an easy-to-use environment for beginners and a robust platform for professionals.
Launched by the Arduino.cc foundation, it supports C/C++ programming via the Arduino IDE and can connect with a wide range of sensors, modules, and external components.
Arduino Uno Technical Specifications
| Feature | Details |
|---|---|
| Microcontroller | ATmega328P |
| Operating Voltage | 5V |
| Input Voltage (recommended) | 7-12V |
| Input Voltage (limit) | 6-20V |
| Digital I/O Pins | 14 (of which 6 provide PWM) |
| PWM Digital I/O Pins | 6 |
| Analog Input Pins | 6 |
| DC Current per I/O Pin | 20 mA |
| Flash Memory | 32 KB (0.5 KB used by bootloader) |
| SRAM | 2 KB |
| EEPROM | 1 KB |
| Clock Speed | 16 MHz |
| USB Connection | Yes (Type-B) |
| LED_BUILTIN | Pin 13 |
| Dimensions | 68.6 mm x 53.4 mm |
Types of Arduino Uno Boards
Arduino Uno ke kuch variants bhi market mein available hain. Inme se popular versions yeh hain:-
Arduino Uno R3 (Original) – Official board by Arduino.cc
-
Arduino Uno SMD Edition – Same specs, surface-mount ATmega328
-
Clone Versions (China-made) – Affordable alternatives (CH340 chip based)
-
Arduino Uno WiFi Rev2 – Built-in WiFi capability for IoT
-
Arduino Uno Mini Limited Edition – Compact version with same power
Key Features of Arduino Uno
- Open-source hardware and software
- USB interface for programming and communication
- Onboard voltage regulator
- Built-in serial monitor and debugging tools
- Plug-and-play prototyping
- Compatible with hundreds of sensors, modules, and shields
- Easily portable and widely supported in the community
Pin Configuration Overview
-
14 Digital I/O Pins – Used for digitalRead() and digitalWrite() functions
-
6 Analog Input Pins – Can read analog voltages using analogRead()
-
PWM Pins – Used to control devices like motors, LEDs
-
Power Pins – 3.3V, 5V, GND, Vin
-
ICSP Header – For direct programming
-
Reset Pin – Used to restart the microcontroller manually
Common Applications of Arduino Uno in IoT
- Home Automation Systems
- Smart Irrigation Controllers
- Temperature & Humidity Monitoring
- Motion Detection & Security Systems
- Voice-Controlled Devices (using Alexa/Google Assistant)
- Data Logging and Sensor Integration
- Energy Monitoring
- Bluetooth/WiFi Controlled Projects (via HC-05, ESP8266)
Why Arduino Uno is Best for Beginners
- Easy-to-understand documentation and tutorials
- Plug-and-play setup using Arduino IDE
- Strong community support (forums, GitHub, tutorials)
- Affordable and durable
- Wide range of shields and sensors available
- Error-friendly platform for learning coding and electronics
Beginner Project Ideas Using Arduino Uno
-
LED Blinking Project
-
Temperature Display using DHT11 and LCD
-
Obstacle Avoidance Robot using Ultrasonic Sensor
-
Home Automation using Relay Module
-
Bluetooth Controlled Car
-
Soil Moisture-Based Plant Watering System
-
IoT Weather Station using ESP8266 + Arduino Uno
How to Program Arduino Uno
-
Install Arduino IDE (from official website)
-
Connect the board via USB cable
-
Select the right COM Port and Board Type
-
Write or load a sketch (program)
-
Click on 'Upload' button
-
Observe the output via Serial Monitor or connected components
Educational Use of Arduino Uno
Arduino Uno is widely used in:- Engineering colleges
- Robotics competitions
- School science fairs
- Online coding bootcamps
- STEM-based education programs
Advanced Topics You Can Explore After Arduino Uno Basics
- Arduino with WiFi (using ESP8266/ESP32)
- Using MQTT with Arduino Uno
- Integration with Google Firebase or Blynk
- Real-time data monitoring with ThinkSpeak or Ubidots
- IoT dashboard development using Node.js and Arduino
Simple Project: Blink an LED using Arduino Uno
Project Overview
This beginner-friendly project demonstrates how to blink an LED using Arduino Uno. It helps you understand the basics of digital output, pin configuration, and the structure of an Arduino sketch (program).Components Required
| Component | Quantity |
|---|---|
| Arduino Uno | 1 |
| LED (Any color) | 1 |
| 220Ω Resistor | 1 |
| Breadboard | 1 |
| Jumper Wires | Few |
| USB Cable | 1 |
Circuit Diagram (Connection Guide)
-
Connect long leg (anode) of LED to digital pin 13 on Arduino.
-
Connect short leg (cathode) to one end of 220Ω resistor.
-
Connect the other end of resistor to GND (ground) on Arduino.
Arduino Uno Code (LED Blink)
pinMode(13, OUTPUT); // Set digital pin 13 as output
}
digitalWrite(13, HIGH); // Turn the LED ON
delay(1000); // Wait for 1 second
digitalWrite(13, LOW); // Turn the LED OFF
delay(1000); // Wait for 1 second
}
Code Explanation
-
setup()function: Runs once when the board is powered on or reset. We usepinMode(13, OUTPUT)to set the LED pin for output. -
loop()function: Runs repeatedly. The LED is turned on usingdigitalWrite(13, HIGH)and off usingdigitalWrite(13, LOW)with a delay of 1 second in between, causing it to blink.
Expected Output
-
The onboard LED (connected to pin 13) or external LED will turn ON for 1 second, then OFF for 1 second, and repeat continuously.
- You’ll visibly see the LED blinking at a steady rate.
Learning Outcome
-
Understanding of
pinMode(),digitalWrite(), anddelay()functions. - First step into programming Arduino.
- Concept of loop-based execution.
Conclusion
Arduino Uno is a foundational board in the world of embedded systems and IoT. Its simplicity, flexibility, and reliability make it a top choice for both beginners and experts. Whether you're building a smart home device, an educational robot, or a sensor-based IoT solution, Arduino Uno provides everything you need to start your journey.Where to Buy
Prices may vary. Click on "Buy Now" to check current availability and pricing.
Administrator
Frequently Asked Questions
Common questions about Arduino Uno: A Complete Guide for Beginners and IoT Enthusiasts (2025 Edition). Find answers to the most frequently asked questions.
User Reviews & Comments
Share your experience with this IoT Blog. Your feedback helps our community make informed decisions!
Share Your Experience
Help others by sharing your thoughts about this IoT Blog.
Related Blogs
Explore more IoT Blogs in the same category
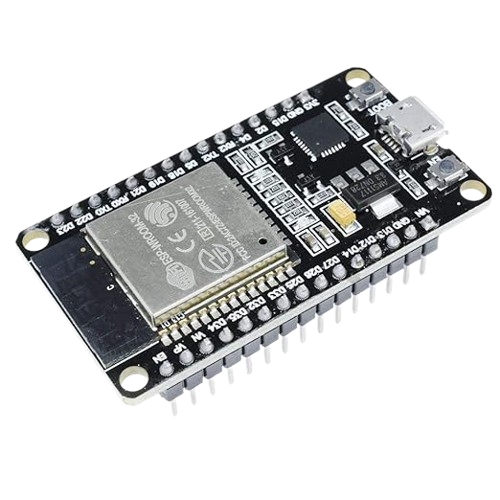
What is ESP32 in IoT?
Microcontroller
Discover the complete guide to ESP32 with detailed pinout, specifications, and project ideas. Learn how to use ESP32 for embedded systems, automation, smart devices, and real-time applications. Ideal for developers, engineers, and students looking for fast and efficient IoT development. Unlock the power of ESP32 in your next smart project.
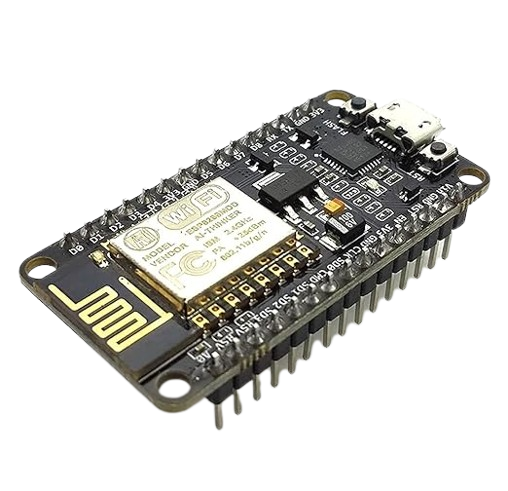
What is ESP8266? Architecture, Pinout, Programming aur Applications
Microcontroller
This guide covers proven strategies to create technical content that drives traffic, increases visibility. Whether you're a beginner or a seasoned blogger, learn how to write about ESP8266, keyword placement, and reader engagement — without compromising content quality.
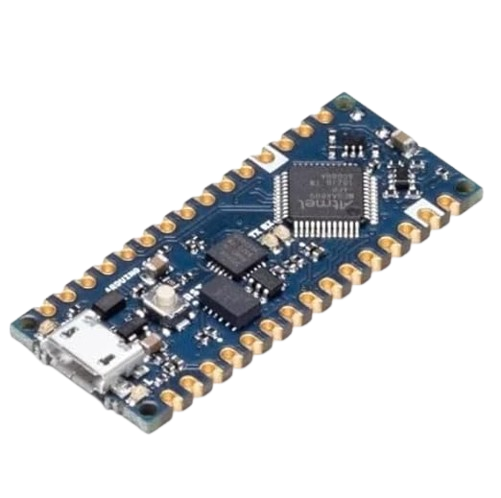
Getting Started with Arduino Nano for IoT Applications: Step-by-Step Tutorial
Microcontroller
Arduino Nano is a powerful, compact board ideal for beginners and experts to create innovative projects, smart applications, and real-world solutions.
anant
7 months agoaudiuno