How to Automate Your Home Lighting Using Alexa and NodeMCU
Overview
Introduction to Home Automation with Alexa and NodeMCU
Home automation allows you to control appliances remotely, increasing convenience and energy efficiency. In this project, we’ll be using the NodeMCU (ESP8266), a low-cost Wi-Fi module, to control home devices such as lights. By integrating NodeMCU with Alexa, you can create a voice-controlled smart home system.
The system is easy to set up and doesn’t require complex coding or expensive equipment. All you need is a NodeMCU module, a relay board, a Wi-Fi connection, and the Blynk app for smartphone control. With this simple setup, you can control your home appliances from anywhere, even when you're not at home, as long as you have an internet connection.
Tools and Components Required
Before starting, make sure you have the following tools and components:-
NodeMCU ESP8266
-
Relay board (1-channel, 4-channel, or 8-channel)
-
Power supply (5V)
-
Blynk app (available on Google Play and the App Store)
-
Arduino IDE (for programming the NodeMCU)
-
Amazon Alexa
-
Electrical appliances (e.g., light bulbs, fans)
Setting Up Your NodeMCU for Home Automation
The first step in this project is setting up your NodeMCU. The NodeMCU is a Wi-Fi-enabled microcontroller that can easily interface with home automation projects. Here’s how to set it up:-
Install Arduino IDE: Download and install the Arduino IDE on your computer.
-
Install the ESP8266 Board: To program the NodeMCU using the Arduino IDE, you need to install the ESP8266 board. This can be done via the Board Manager in Arduino IDE.
-
Install Blynk Library: The Blynk app library must be added to Arduino IDE for seamless communication between the NodeMCU and your smartphone. This can be done by downloading the library from GitHub and installing it into your Arduino IDE.
-
Connect NodeMCU to Your Computer: Use a micro-USB cable to connect your NodeMCU to your computer.
-
Upload Code to NodeMCU: Open the Arduino IDE, select the NodeMCU board, and upload the code that you’ll find in the project instructions.
How to Control Devices with Blynk
Once the setup is done, you need to use the Blynk app to create a project that controls your devices. Here’s a step-by-step guide to get started with Blynk:
-
Create a New Project in Blynk: Open the Blynk app and create a new project. Select the NodeMCU as the hardware and Wi-Fi as the connection type.
-
Generate an Authentication Code: After creating the project, the app will send an authentication code to your email. Use this code in your Arduino IDE to establish communication between the NodeMCU and the Blynk app.
-
Configure the App Interface: Inside the Blynk app, create buttons for controlling the devices. For example, you can add a button to turn the light on/off.
Wiring the NodeMCU and Relay Board
The next step is to wire your NodeMCU to the relay board, which will act as the switch for your home appliances. The relay board allows the NodeMCU to control high-voltage devices safely.-
Connect Relay to NodeMCU:
-
For a 1-channel relay board, connect the IN1 pin of the relay to D1 on the NodeMCU.
-
If you have a 4-channel relay, connect the IN pins of the relay to D1, D2, D3, D4 respectively.
-
Make sure to connect the VCC pin of the relay to the 5V pin of the NodeMCU.
-
Connect the GND pin of the relay to the GND pin of the NodeMCU.
-
-
Connect Devices to the Relay: Once the relay is connected to the NodeMCU, you can connect your devices (like a light bulb) to the relay’s output terminals. Ensure you follow safety precautions when dealing with high-voltage electrical devices.
Integrating Alexa for Voice Control
Now that you have your NodeMCU set up with the Blynk app, the next step is to integrate Alexa for voice control. Follow these steps:
-
Enable the Blynk Skill in Alexa: Go to the Alexa app, search for the Blynk skill, and enable it. Sign in using the same credentials you used in the Blynk app.
-
Link Devices to Alexa: Once you’ve enabled the skill, Alexa will automatically discover the devices you’ve set up in the Blynk app. You can now control these devices with voice commands like "Alexa, turn on the light."
Troubleshooting Tips
Sometimes, there can be issues with the setup. Here are a few troubleshooting tips:-
Connection Issues: If the Blynk app is not showing as online, ensure that your NodeMCU is connected to Wi-Fi properly. Verify your Wi-Fi settings in the Arduino IDE and the Blynk app.
-
Relay Not Switching: If the relay is not switching, check the wiring and ensure that the relay board is powered correctly.
-
Alexa Not Responding: Make sure the Blynk skill is linked correctly in the Alexa app, and the devices are discovered.
Conclusion
With this simple home automation system, you can control your home devices like lights, fans, and even security systems remotely via Alexa or your mobile phone. The combination of NodeMCU, Blynk app, and Alexa offers a cost-effective solution for automating your home without the need for expensive smart devices.
This DIY home automation project is not only fun but also practical, offering the convenience of voice and remote control. By following the steps outlined in this tutorial, you can easily set up your own smart home system and start controlling devices with ease. If you enjoyed this tutorial and found it helpful, don't forget to like, comment, and subscribe for more innovative tech ideas!Administrator
Frequently Asked Questions
Common questions about How to Automate Your Home Lighting Using Alexa and NodeMCU. Find answers to the most frequently asked questions.
User Reviews & Comments
Share your experience with this IoT Blog. Your feedback helps our community make informed decisions!
Share Your Experience
Help others by sharing your thoughts about this IoT Blog.
Related Blogs
Explore more IoT Blogs in the same category
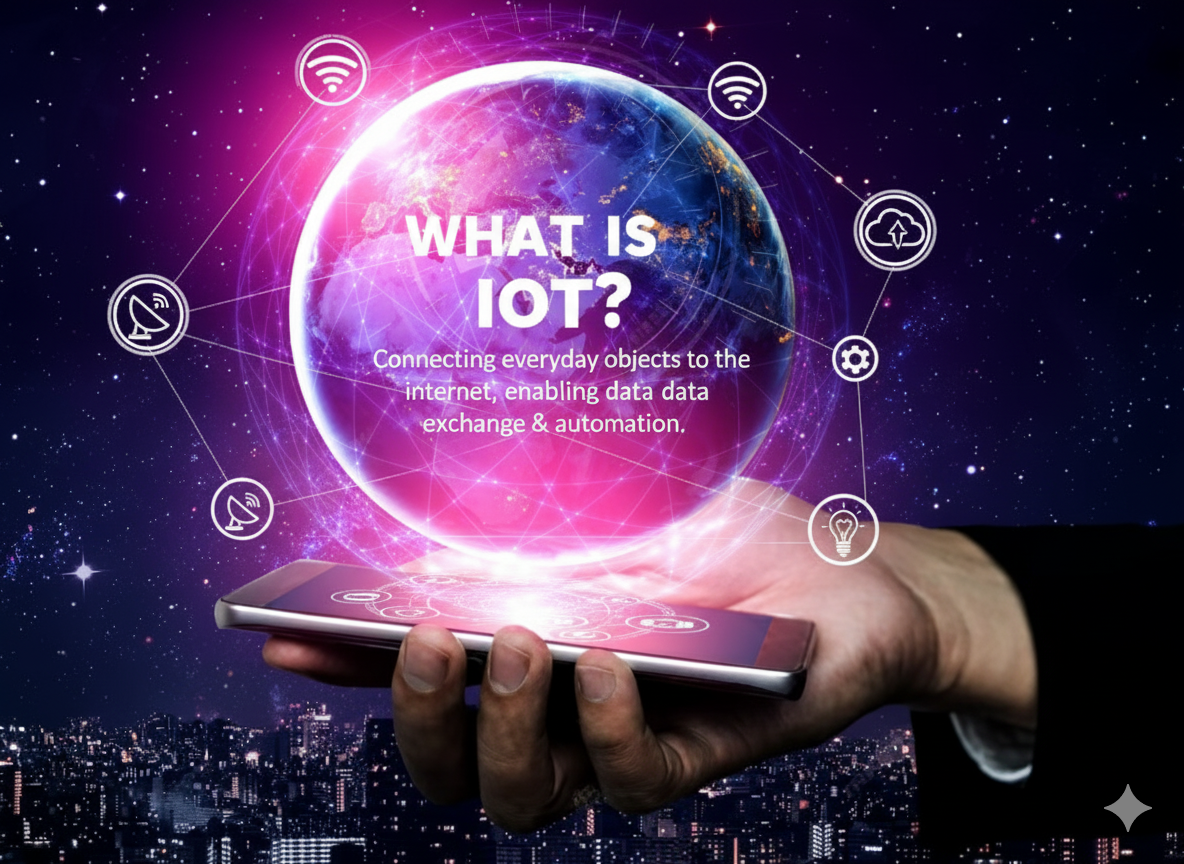
What is the Internet of Things (IoT)?
Tutorials
The Internet of Things (IoT) connects everyday devices to the internet, enabling smart homes, healthcare, farming, and industries with automation, real-time monitoring, and data-driven insights.
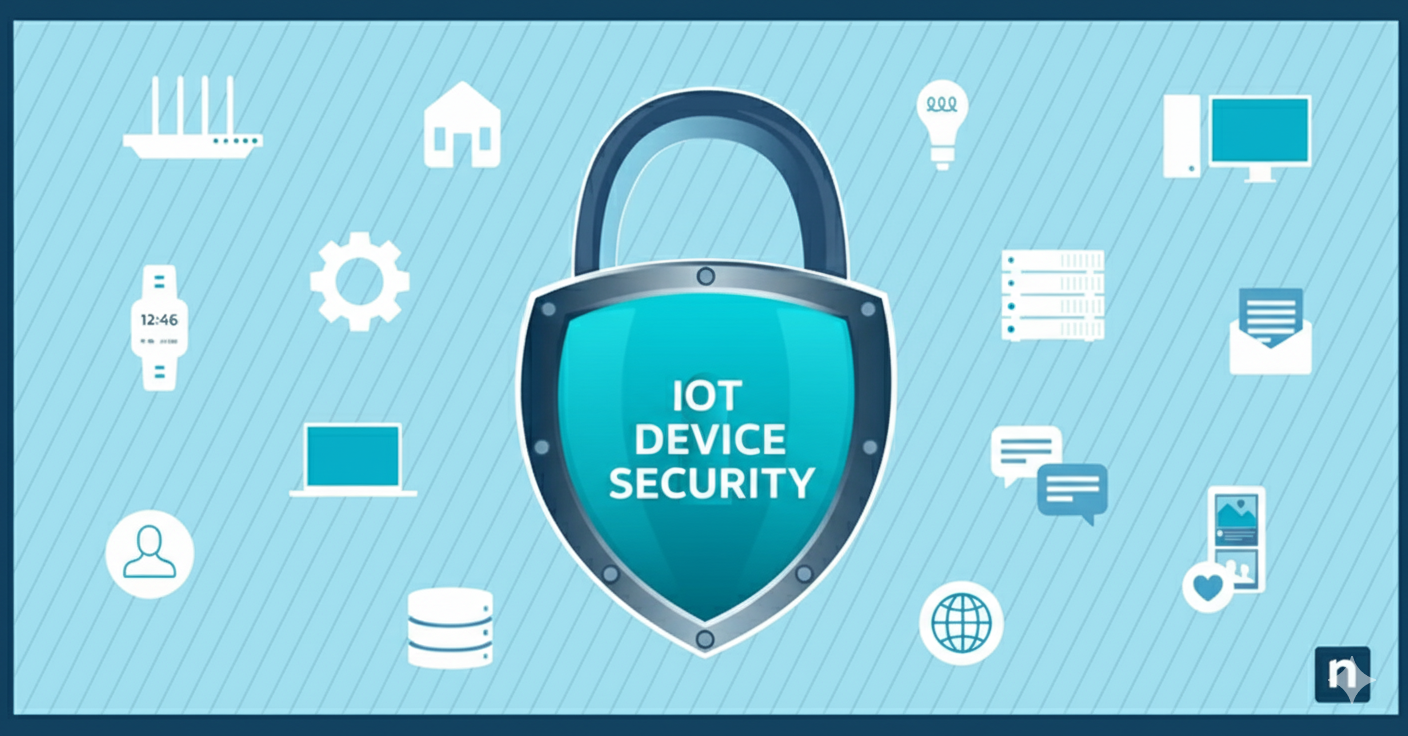
IoT Security Risks and How to Protect Your Devices
Tutorials
Learn how to secure your IoT devices at home and office, reduce cyber risks, and protect privacy with best practices for a safer connected world.
IoT Components: Working of IoT, Sensors & Actuators, Role of IoT, IoT Cloud, IoT Analytics
Tutorials
Explore IoT components, working, sensors, actuators, IoT cloud, and analytics. Learn how IoT transforms data into insights, connecting devices for smarter and efficient solutions.
No Reviews Yet
Be the first to share your experience with this IoT Blog!