Getting Started with Arduino Nano for IoT Applications: Step-by-Step Tutorial
Arduino Nano is a powerful, compact board ideal for beginners and experts to create innovative projects, smart applications, and real-world solutions.
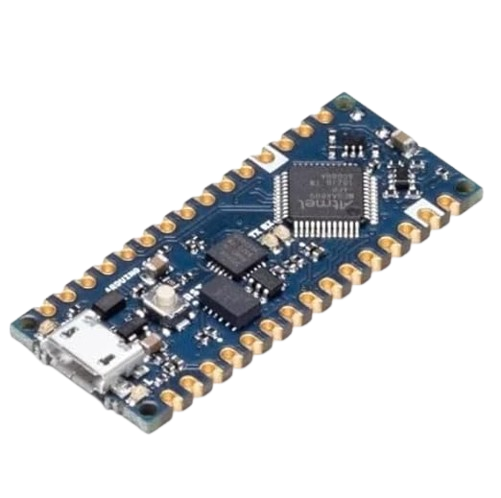
Device Overview
Introduction
Arduino Nano is one of the most popular microcontroller boards used by students, hobbyists, and professionals. Known for its small size and powerful features, it has become a favorite choice for learning electronics, programming, and creating real-world projects. The board is affordable, easy to use, and flexible enough to handle both beginner-level tasks and advanced applications. In this guide, we will explore everything you need to know about Arduino Nano, including its features, specifications, types, pin configuration, advantages, applications, and even a practical example project. By the end, you will have a clear understanding of how to use Arduino Nano and why it is such an important board in the world of electronics.What is Arduino Nano?
Arduino Nano is a compact version of the Arduino family, based on the ATmega328P microcontroller in most classic models. Despite its small size, it provides almost the same functionality as the larger Arduino Uno. Its breadboard-friendly design makes it perfect for prototyping circuits without taking up much space. The board can be powered through USB, external power supply, or batteries, making it flexible for different setups. With digital and analog pins, timers, PWM support, and serial communication options, Arduino Nano can connect with a wide range of sensors, motors, and other electronic modules.Key Specifications
Here are the main specifications of the Arduino Nano (classic version):-
Microcontroller: ATmega328P
-
Operating Voltage: 5V
-
Recommended Input Voltage: 7–12V
-
Digital I/O Pins: 14 (6 provide PWM output)
-
Analog Input Pins: 8
-
Flash Memory: 32 KB
-
SRAM: 2 KB
-
EEPROM: 1 KB
-
Clock Speed: 16 MHz
-
USB Connector: Mini USB or Micro USB (depending on the version)
-
Board Size: 18 mm × 45 mm
Different Types of Arduino Nano Boards
Over the years, multiple versions of Arduino Nano have been released to suit different needs. Here are the most important ones:-
Arduino Nano (Classic)
- Based on ATmega328P microcontroller.
- Most widely used and affordable version.
- Perfect for students and beginners.
-
Arduino Nano Every
- Uses ATmega4809 microcontroller.
- Provides more memory and performance than the classic version.
- Ideal for advanced projects.
-
Arduino Nano 33 BLE
- Comes with Bluetooth Low Energy connectivity.
- Suitable for wearable projects and wireless communication.
-
Arduino Nano 33 BLE Sense
- Includes onboard sensors like temperature, motion, and environmental sensors.
- Great for smart and portable devices.
-
Arduino Nano 33 IoT
- Designed for internet-connected projects with Wi-Fi and Bluetooth support.
- Best for projects that require wireless data transfer.
-
Arduino Nano RP2040 Connect
- Powered by the Raspberry Pi RP2040 chip.
- Combines Arduino’s ecosystem with powerful processing.
Pin Configuration
Understanding the pins of Arduino Nano is very important before starting any project.-
Digital Pins (D0–D13): Used for input or output operations.
-
Analog Pins (A0–A7): Can read analog signals like temperature, light, or sound.
-
PWM Pins (D3, D5, D6, D9, D10, D11): Used to control motor speed, LED brightness, etc.
-
Power Pins: Provide 5V, 3.3V, Ground, and Vin for powering external components.
-
Reset Pin: Resets the microcontroller when needed.
Advantages of Arduino Nano
- Compact and breadboard-friendly design.
- Affordable and widely available.
- Easy to program using the Arduino IDE.
- Supported by a huge global community.
- Compatible with a wide range of sensors and modules.
- Low power consumption compared to larger boards.
- Works well for both beginners and professionals.
Applications of Arduino Nano
Arduino Nano can be used in countless real-world projects. Some of the most common applications include:-
Home Automation: Controlling lights, fans, and appliances.
-
Robotics: Driving motors and controlling robots.
-
Wearable Devices: Smart watches, fitness trackers, and health monitors.
-
Educational Tools: Teaching programming and electronics.
-
Smart Lighting Systems: Automatic street lights or decorative lighting.
-
Sensor-Based Monitoring: Temperature, humidity, or pollution monitoring.
-
DIY Gadgets: Custom-built tools and electronic devices.
Example Project: Blinking LED with Arduino Nano
Let’s look at a simple example project to understand how Arduino Nano works.Components Required
- Arduino Nano board
- 1 LED
- 220Ω resistor
- Breadboard and jumper wires
Circuit Connection
-
Connect the positive leg (anode) of the LED to D13 pin of Arduino Nano.
-
Connect the negative leg (cathode) of the LED to GND through the resistor.
Code Example
How It Works
Once the code is uploaded, the LED connected to pin 13 will blink on and off every second. This is usually the first project most people try when they start using Arduino Nano. It teaches the basics of programming, uploading code, and using digital pins.More Project Ideas with Arduino Nano
If you want to go beyond the LED blinking project, here are some ideas:- Temperature and humidity monitor using sensors.
- Obstacle-avoiding robot with ultrasonic sensor.
- Automatic plant watering system.
- Digital thermometer with LCD display.
- Motion-activated smart light system.
Conclusion
Arduino Nano is a compact yet powerful board that opens endless possibilities for learners and developers. Its wide range of types, from the classic Nano to advanced versions like Nano 33 BLE Sense or Nano RP2040 Connect, ensures that there is a version for everyone. With its easy programming environment, affordable cost, and strong community support, it has become a must-have board for anyone interested in electronics. Whether you are a student working on your first circuit or a professional building a complex prototype, Arduino Nano provides the tools and flexibility to bring your ideas to life.Where to Buy
| Platform | Price | Action |
|---|---|---|
|
|
₹1,599 | Buy Now |
Prices may vary. Click on "Buy Now" to check current availability and pricing.
Administrator
Frequently Asked Questions
Common questions about Getting Started with Arduino Nano for IoT Applications: Step-by-Step Tutorial. Find answers to the most frequently asked questions.
User Reviews & Comments
Share your experience with this IoT device. Your feedback helps our community make informed decisions!
Share Your Experience
Help others by sharing your thoughts about this IoT device.
Related Devices
Explore more IoT devices in the same category
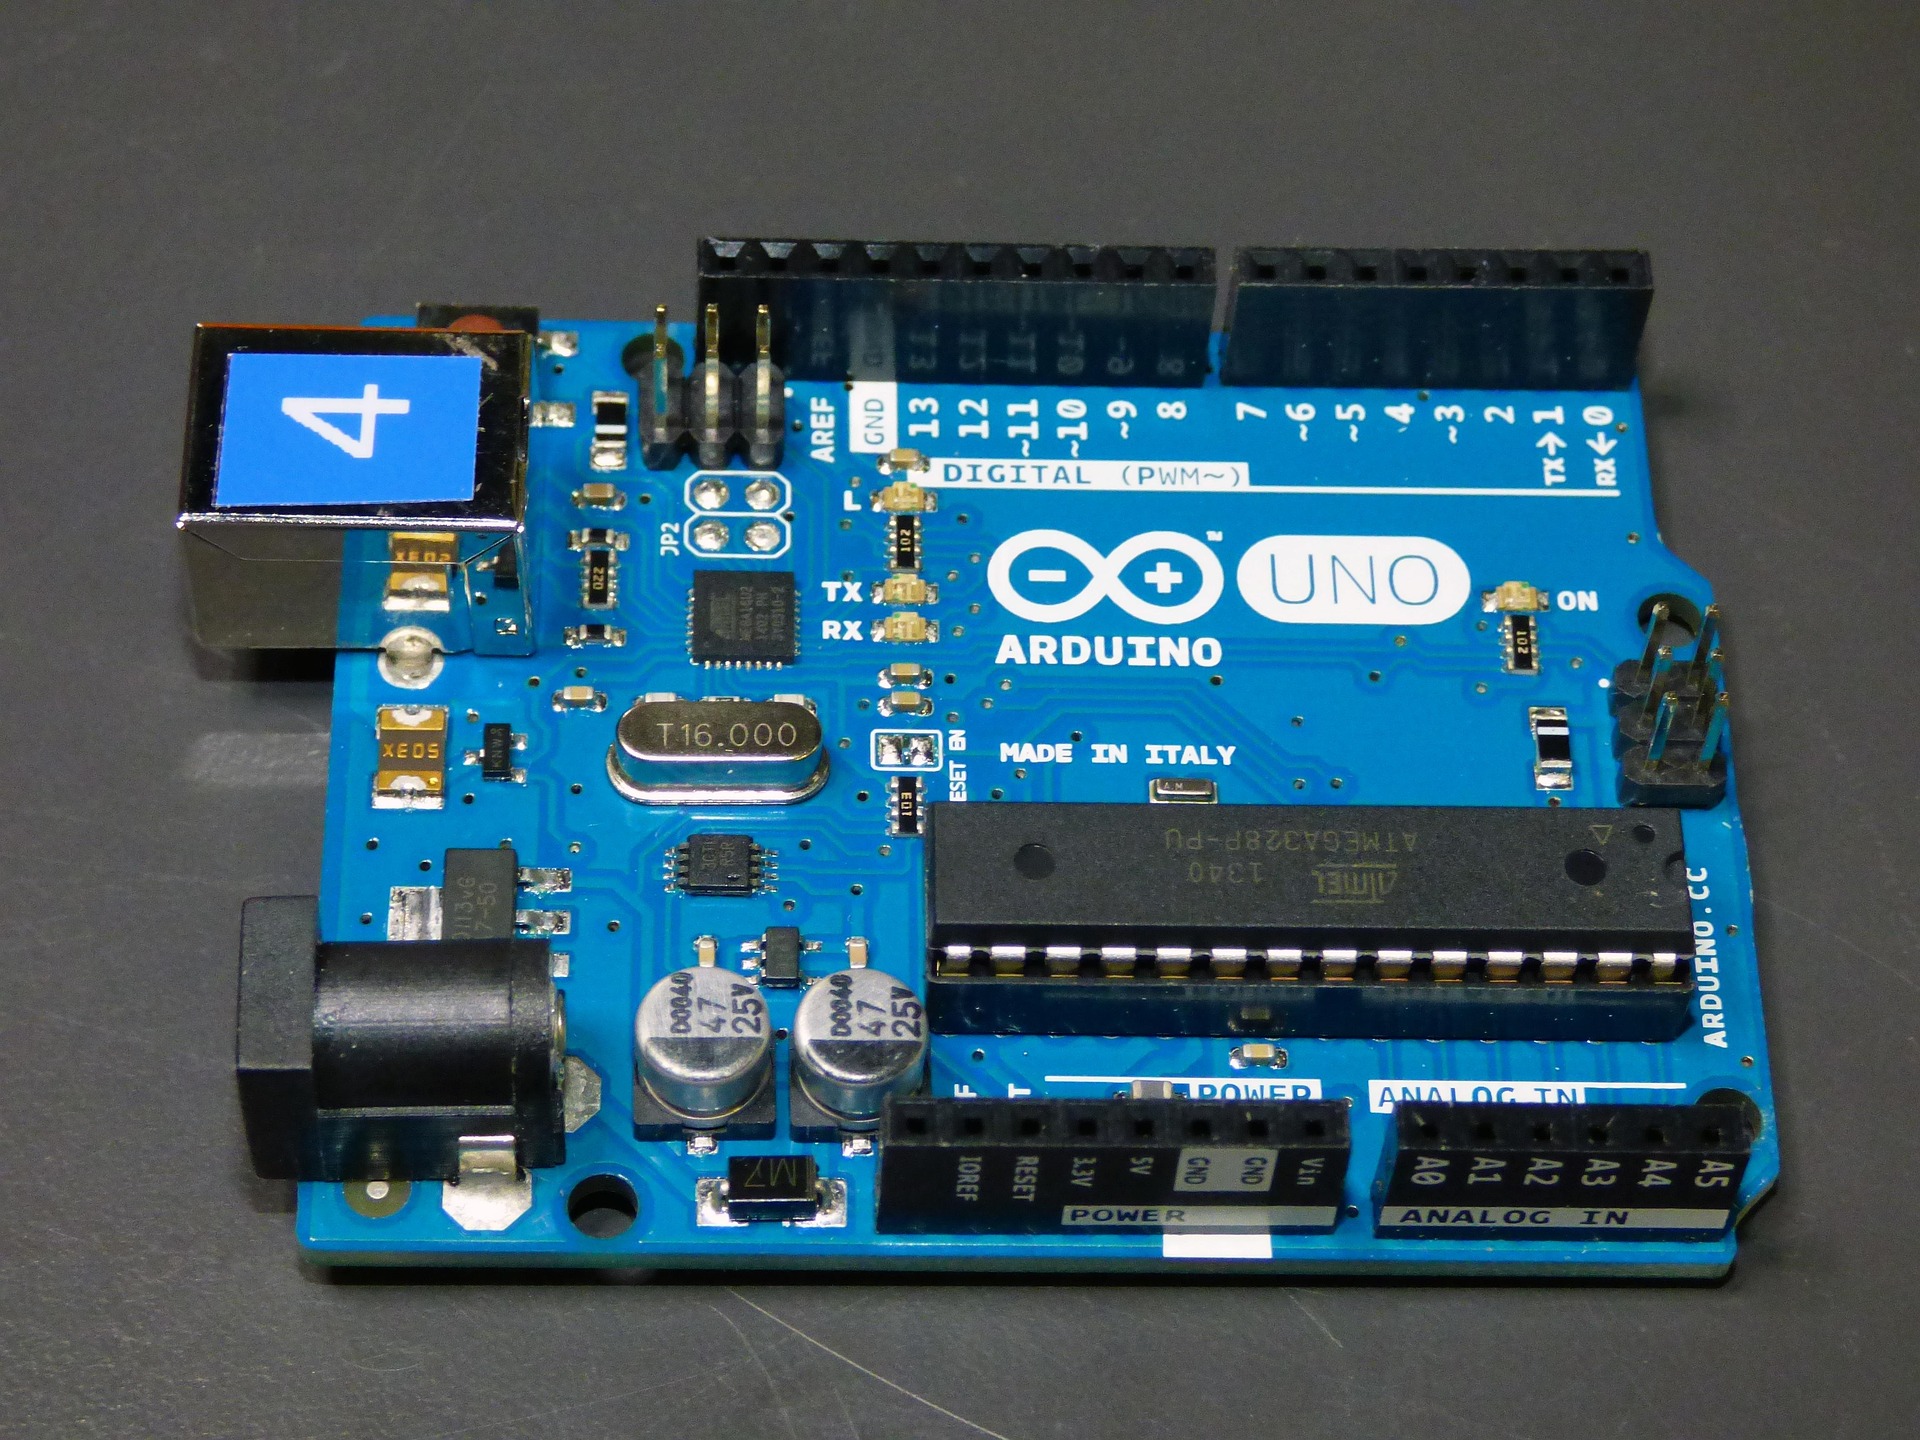
Arduino Uno is a beginner-friendly microcontroller board based on ATmega328P, ideal for IoT and electronics projects. This guide covers its features, specifications, and practical applications to help you build smart systems easily and efficiently.
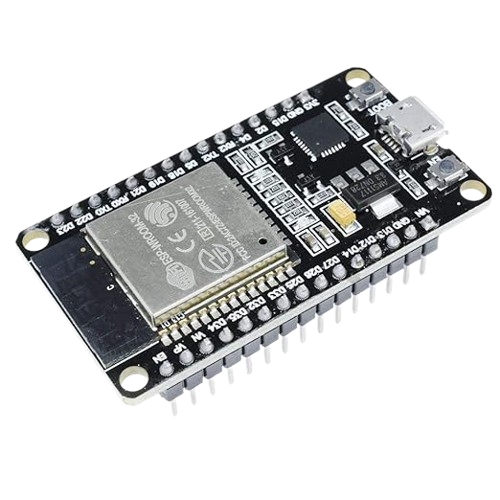
What is ESP32 in IoT?
Microcontroller
Discover the complete guide to ESP32 with detailed pinout, specifications, and project ideas. Learn how to use ESP32 for embedded systems, automation, smart devices, and real-time applications. Ideal for developers, engineers, and students looking for fast and efficient IoT development. Unlock the power of ESP32 in your next smart project.
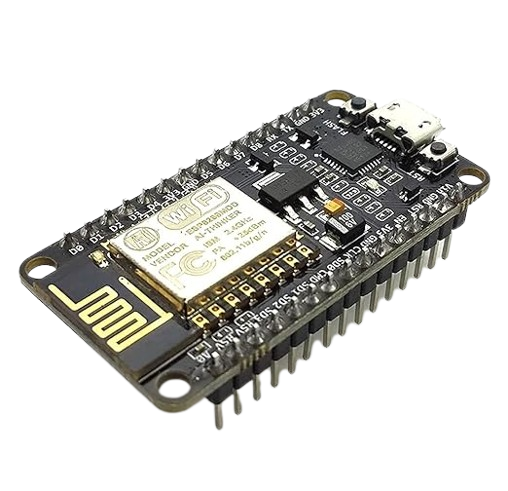
This guide covers proven strategies to create technical content that drives traffic, increases visibility. Whether you're a beginner or a seasoned blogger, learn how to write about ESP8266, keyword placement, and reader engagement — without compromising content quality.
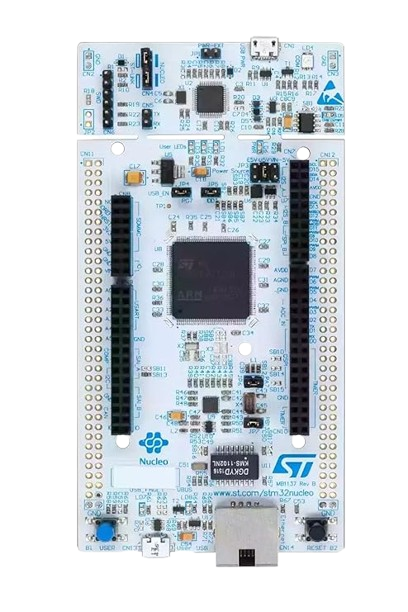
Explore the complete technical guide on STM32 microcontrollers, covering key features, pinout details, architecture overview, and step-by-step programming with example code. Ideal for embedded system developers and electronics engineers seeking in-depth STM32 knowledge. This article offers clear, accurate, and professional insights to help you get started with STM32-based development.
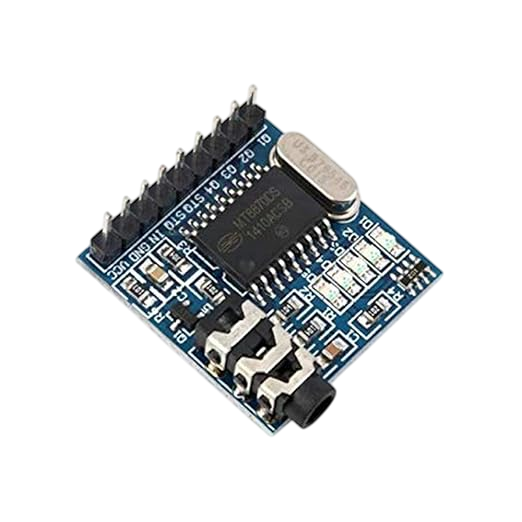
MT8870 is a popular DTMF decoder IC that converts dual-tone signals into digital outputs with high accuracy. Widely used in telecommunication systems, remote control circuits, and security devices, it offers reliable tone detection and decoding. This article covers the MT8870 pinout, working principle, features, and circuit applications to help students, engineers, and hobbyists understand its role in electronic projects.
No Reviews Yet
Be the first to share your experience with this IoT device!