What is ESP8266? Architecture, Pinout, Programming aur Applications
This guide covers proven strategies to create technical content that drives traffic, increases visibility. Whether you're a beginner or a seasoned blogger, learn how to write about ESP8266, keyword placement, and reader engagement — without compromising content quality.
Device Overview
Introduction to ESP8266
The ESP8266 is a highly integrated Wi-Fi SoC (System on Chip) developed by Espressif Systems. It is one of the most popular modules in the embedded electronics domain, primarily because of its low cost, high performance, and Wi-Fi capability. Although originally designed as a Wi-Fi module, the ESP8266 comes with a powerful 32-bit microcontroller that allows developers to use it as a standalone development board for a variety of embedded applications.
This guide explores the technical details of the ESP8266, covering everything from hardware specifications and internal architecture to the different module types, memory options, pinout, and example code for programming. It is ideal for electronics engineers, embedded developers, and hardware enthusiasts seeking in-depth information on this powerful chip.
Key Highlights
-
Manufacturer: Espressif Systems
-
Core: Tensilica Xtensa L106 32-bit microcontroller
-
Wi-Fi: IEEE 802.11 b/g/n (2.4 GHz)
-
Programming Support: Arduino IDE, ESP-IDF, Lua, MicroPython
-
Use Case: Wi-Fi based embedded control and communication systems (non-IoT focused)
ESP8266 Internal Architecture
The ESP8266 is built around the Xtensa L106 32-bit RISC processor, which features:
-
Harvard architecture: Separate instruction and data buses
-
Operating frequency: 80 MHz (can be overclocked to 160 MHz)
-
Integrated RAM & ROM
-
Built-in Wi-Fi stack (MAC and PHY layer)
-
Secure boot & flash encryption support
It includes a TCP/IP protocol stack, which allows direct Wi-Fi communication without external components or co-processors.
ESP8266 Technical Specifications
| Specification | Details |
|---|---|
| Microcontroller | 32-bit RISC CPU (Xtensa L106) |
| Clock Speed | 80 MHz (up to 160 MHz) |
| Flash Memory | 512 KB to 4 MB (depends on model) |
| SRAM | 64 KB instruction + 96 KB data |
| GPIO Pins | Up to 17 (depends on module) |
| Operating Voltage | 3.0V to 3.6V |
| Input Voltage (Vcc) | 3.3V (5V not supported directly) |
| ADC | 1 × 10-bit ADC (0–1V range) |
| Communication | UART, SPI, I2C, I2S, PWM |
| Wi-Fi Support | 802.11 b/g/n @ 2.4GHz |
| Sleep Modes | Light Sleep, Deep Sleep |
| Power Usage | 20 mA (active), ~10 µA (deep sleep) |
ESP8266 Module Variants
There are multiple module types built around the ESP8266 SoC. Here are the most commonly used ones:1. ESP-01
- Most basic and smallest variant.
- Has only 2 GPIO pins.
- 512 KB or 1 MB flash memory.
- Requires USB to TTL converter for programming.
2. ESP-12E / ESP-12F
- Most widely used in development boards.
- Up to 11 GPIO pins.
- Comes with shielding and onboard antenna.
- Flash size: 4MB.
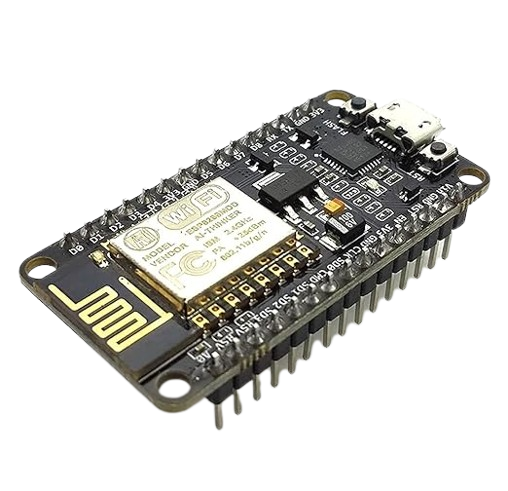
3. NodeMCU
- Development board using ESP-12E.
- USB interface, onboard voltage regulator.
- Supports direct Arduino IDE programming.
- Breadboard compatible.
4. Wemos D1 Mini
- Compact development board.
- Micro-USB for power and programming.
- Compatible with Arduino IDE and MicroPython.
5. ESP8285
- Variant of ESP8266 with integrated 1MB flash.
- Smaller form factor.
- Suitable for size-constrained applications.
ESP8266 Pinout Description
Here’s a basic pinout for the NodeMCU version (ESP-12E):
| Pin | Function |
|---|---|
| D0 | GPIO16 |
| D1 | GPIO5 (SCL) |
| D2 | GPIO4 (SDA) |
| D3 | GPIO0 |
| D4 | GPIO2 |
| D5 | GPIO14 (SCK) |
| D6 | GPIO12 (MISO) |
| D7 | GPIO13 (MOSI) |
| D8 | GPIO15 |
| A0 | ADC0 (0–1V) |
| TX | UART TX |
| RX | UART RX |
Note: Always check the specific datasheet for each variant before designing or connecting components.
Programming ESP8266 with Arduino IDE
ESP8266 supports programming through the Arduino IDE by adding its board manager URL.
Step 1: Add Board URL
Go to File > Preferences, and paste the following into the “Additional Board Manager URLs”:
Step 2: Install ESP8266 Board Package
Navigate to Tools > Board > Boards Manager, search for “ESP8266” and install the package by “ESP8266 Community”.
Step 3: Connect ESP8266 and Select Board
-
For NodeMCU: Select NodeMCU 1.0 (ESP-12E Module)
-
Set correct COM port and baud rate
Upload this code via USB. The onboard LED will blink every second.
Applications of ESP8266 (Non-IoT Focused)
Even without IoT applications, ESP8266 is used in various areas:
-
Embedded Wi-Fi control systems
-
Standalone data logging
-
Wireless sensors (non-networked)
-
Custom communication protocols
-
Educational projects in electronics
-
Serial-WiFi bridges for legacy devices
Tools & IDEs Supporting ESP8266
| Tool / IDE | Support Level |
|---|---|
| Arduino IDE | Full |
| PlatformIO | Full |
| MicroPython | Full |
| Lua (NodeMCU FW) | Partial |
| ESP-IDF (native) | Full |
Safety and Best Practices
-
Use 3.3V regulated supply (Never 5V directly).
-
Include a capacitor (10µF) across VCC and GND for stability.
-
Always ground GPIO15 and pull-up GPIO2 & GPIO0.
-
Use a level shifter or resistor divider if using 5V logic.
Final Thoughts
The ESP8266 is an excellent choice for developers who need affordable, compact, and Wi-Fi-enabled microcontroller boards. Its ability to work as a standalone MCU makes it ideal for tasks ranging from basic embedded control to wireless device interfacing.
Whether you're a hobbyist or a professional engineer, understanding ESP8266 in depth allows you to build robust and efficient hardware systems with built-in wireless communication features — without depending on complex IoT platforms.
Where to Buy
| Platform | Price | Action |
|---|---|---|
|
|
₹390 | Buy Now |
Prices may vary. Click on "Buy Now" to check current availability and pricing.
Administrator
Frequently Asked Questions
Common questions about What is ESP8266? Architecture, Pinout, Programming aur Applications. Find answers to the most frequently asked questions.
User Reviews & Comments
Share your experience with this IoT device. Your feedback helps our community make informed decisions!
Share Your Experience
Help others by sharing your thoughts about this IoT device.
Related Devices
Explore more IoT devices in the same category
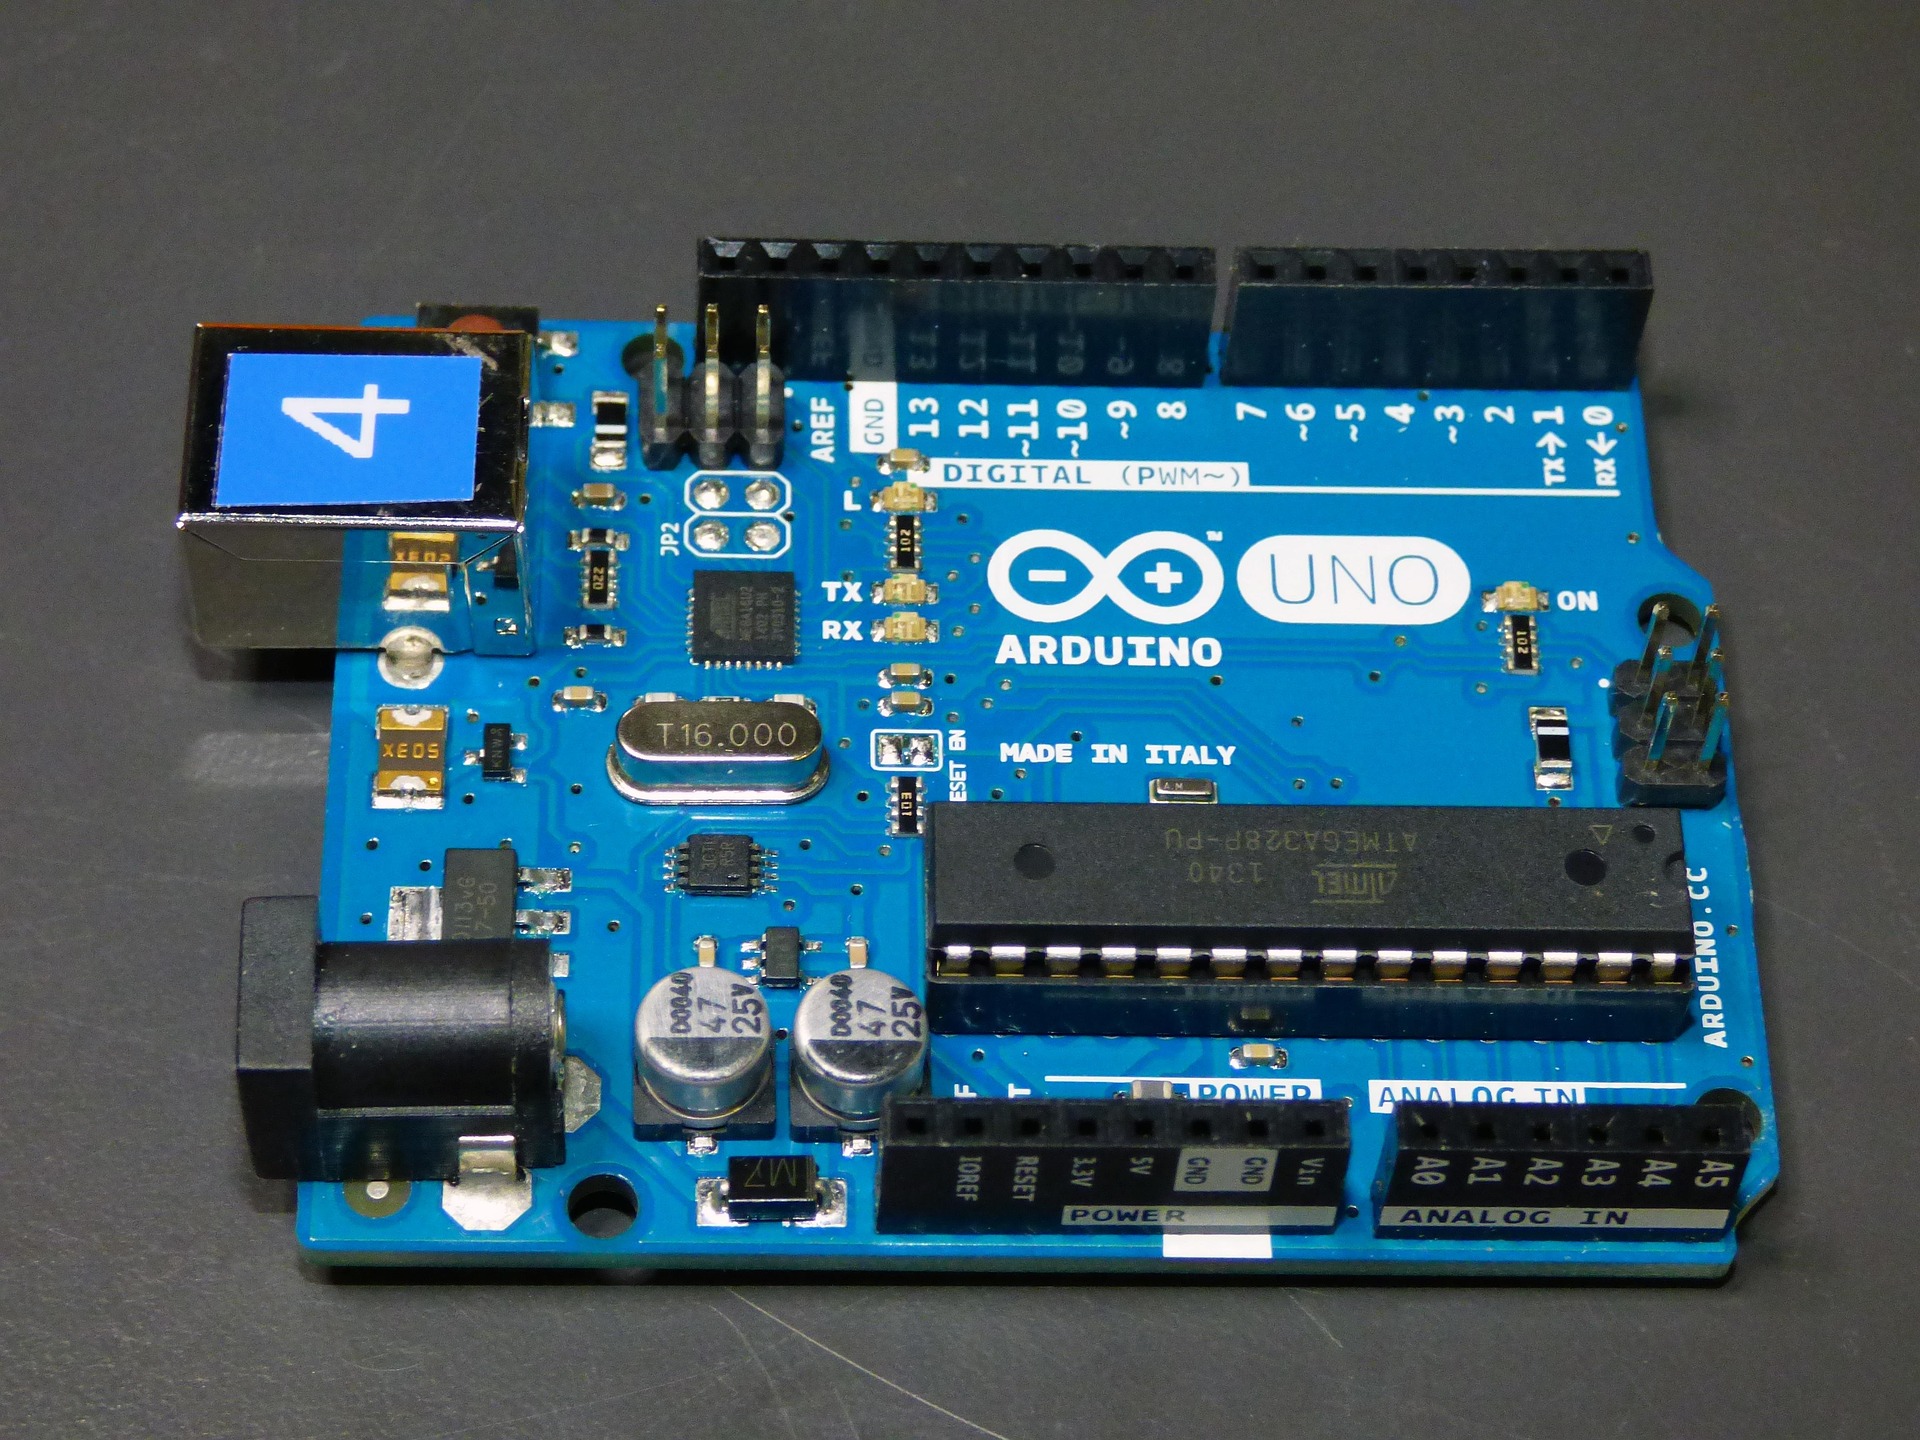
Arduino Uno is a beginner-friendly microcontroller board based on ATmega328P, ideal for IoT and electronics projects. This guide covers its features, specifications, and practical applications to help you build smart systems easily and efficiently.
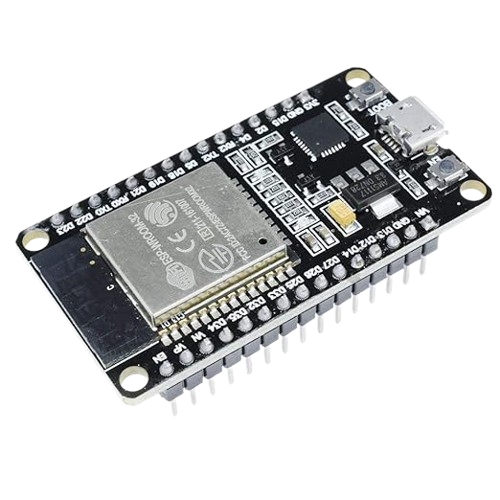
What is ESP32 in IoT?
Microcontroller
Discover the complete guide to ESP32 with detailed pinout, specifications, and project ideas. Learn how to use ESP32 for embedded systems, automation, smart devices, and real-time applications. Ideal for developers, engineers, and students looking for fast and efficient IoT development. Unlock the power of ESP32 in your next smart project.
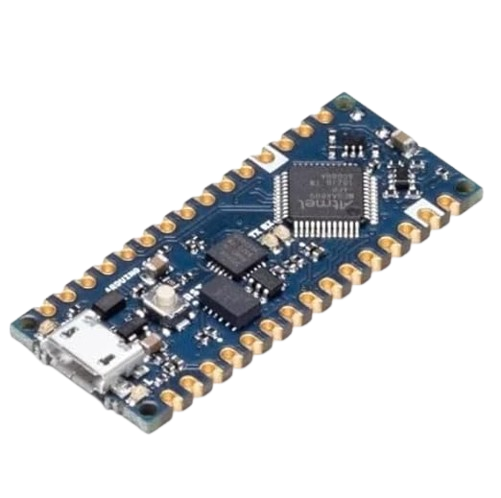
Arduino Nano is a powerful, compact board ideal for beginners and experts to create innovative projects, smart applications, and real-world solutions.
Explore the complete technical guide on STM32 microcontrollers, covering key features, pinout details, architecture overview, and step-by-step programming with example code. Ideal for embedded system developers and electronics engineers seeking in-depth STM32 knowledge. This article offers clear, accurate, and professional insights to help you get started with STM32-based development.
MT8870 is a popular DTMF decoder IC that converts dual-tone signals into digital outputs with high accuracy. Widely used in telecommunication systems, remote control circuits, and security devices, it offers reliable tone detection and decoding. This article covers the MT8870 pinout, working principle, features, and circuit applications to help students, engineers, and hobbyists understand its role in electronic projects.
No Reviews Yet
Be the first to share your experience with this IoT device!